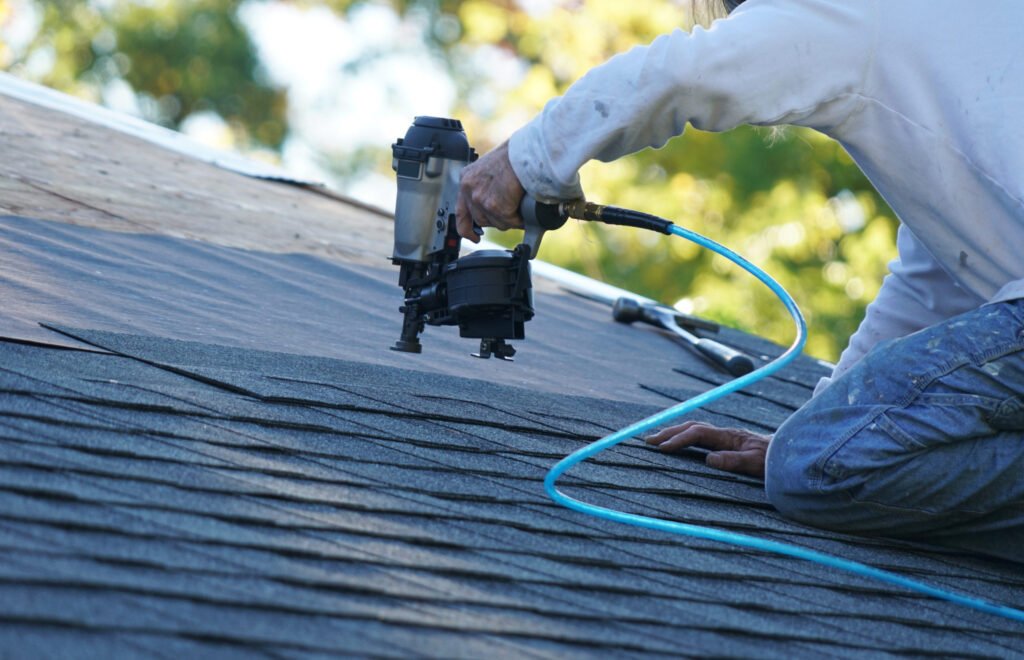
Roof damage is one of the most common and expensive issues homeowners face. However, not all problems require professional intervention. With the right knowledge and tools, many issues can be resolved through DIY Roof Repair. This guide will walk you through the process of identifying and fixing the most frequent roofing problems safely and effectively.
Understanding Common Roofing Problems
Before diving into repairs, it’s important to know what issues you’re likely to encounter. Recognizing the early signs can save you from major expenses down the road.
Leaky Roofs
Leaks are the most common roofing problem. They can result from broken shingles, cracked flashing, or clogged gutters. You’ll usually notice water stains on ceilings or damp walls.
Missing or Damaged Shingles
Shingles protect your roof from the elements. Wind, storms, and aging can cause them to break or fall off, exposing your roof to water damage.
Cracked Flashing
Flashing is the metal placed around roof joints, chimneys, and skylights. Over time, it can crack or become loose, leading to leaks.
Sagging Roof
A sagging roof might indicate structural damage or long-term water buildup. This issue often requires immediate attention.
Clogged Gutters
If your gutters are blocked, water can’t drain properly from the roof, which can lead to leaks or mold growth.
Safety First
DIY Roof Repair is rewarding, but safety is crucial. Always work on the roof when it’s dry and use proper safety gear such as:
- A sturdy ladder
- Roof harness
- Non-slip boots
- Gloves and eye protection
Make sure someone is nearby in case of emergencies.
Tools and Materials You’ll Need
Before beginning any repair, gather the necessary tools and supplies. Some common items include:
- Roofing nails and hammer
- Roofing cement or sealant
- Replacement shingles
- Pry bar
- Caulking gun
- Roofing tape
- Utility knife
Now, let’s break down how to fix various common roofing problems step-by-step.
How to Fix a Leaky Roof
Step 1: Locate the Leak
Start by inspecting your attic during or just after rainfall. Look for water stains, mold, or drips. If you can’t access the attic, use a hose to simulate rain on the roof while someone checks from inside.
Step 2: Identify the Source
Leaks often originate from broken shingles, cracked flashing, or around roof penetrations like vents or chimneys.
Step 3: Apply Roofing Cement
Once the source is found, clean the area thoroughly. Use roofing cement to seal small cracks or holes. Apply it generously around flashing or small gaps.
Step 4: Replace Damaged Shingles
If shingles are involved, remove the broken pieces using a pry bar. Slide in the new shingle and secure it with roofing nails. Seal the edges with roofing cement to prevent future leaks.
Replacing Missing or Damaged Shingles
Step 1: Remove the Old Shingle
Lift the surrounding shingles gently with a pry bar. Remove nails from the damaged shingle and slide it out.
Step 2: Insert a New Shingle
Slide the replacement shingle into place. Secure it with roofing nails and cover nail heads with roofing cement for waterproofing.
Fixing Cracked Flashing
Step 1: Remove the Damaged Flashing
Gently lift the shingles covering the flashing. Use a pry bar to remove the flashing pieces and any nails holding them.
Step 2: Install New Flashing
Cut new flashing pieces to size and place them in the correct location. Nail them securely and apply roofing cement around the edges for sealing.
Repairing a Sagging Roof
While not all sagging roofs can be fixed with DIY methods, minor sags caused by water damage can be addressed.
Step 1: Inspect the Structure
Check rafters or trusses in your attic for rot or water damage. Replace or reinforce damaged wood beams with new timber.
Step 2: Dry Out Moisture
If you see wet insulation or wood, dry it completely before proceeding with repairs to avoid mold and rot.
Step 3: Reinforce the Roof
Install new support beams next to the weakened ones, securing them with bolts or nails for added strength.
Cleaning and Repairing Clogged Gutters
Step 1: Remove Debris
Use a small scoop or gloved hands to clear out leaves, twigs, and gunk from your gutters. Dispose of debris properly.
Step 2: Flush with Water
Use a garden hose to flush the gutters and downspouts, ensuring water flows freely.
Step 3: Seal Leaks
If you find any leaks in the gutter system, seal them with waterproof caulk or replace damaged sections.
Preventative Maintenance Tips
The best way to reduce the need for DIY Roof Repair is through regular maintenance. Here are some key tips:
- Inspect your roof at least twice a year
- Clean gutters every season
- Trim overhanging branches
- Check attic ventilation
- Address minor issues before they escalate
When to Call a Professional
DIY Roof Repair is practical for many small issues, but some problems require a pro. Contact a roofing contractor if:
- The roof has widespread damage
- You notice mold or structural sagging
- Repairs are beyond your skill level or unsafe to perform
Conclusion
Taking on DIY Roof Repair not only saves money but also empowers you to take control of your home’s health. By understanding common roofing issues and knowing how to address them safely, you can extend the life of your roof and protect your investment. Always prioritize safety and don’t hesitate to consult a professional when needed. With proper care and timely repairs, your roof can remain in excellent shape for years to come.
Would you like a printable checklist version of this guide?


